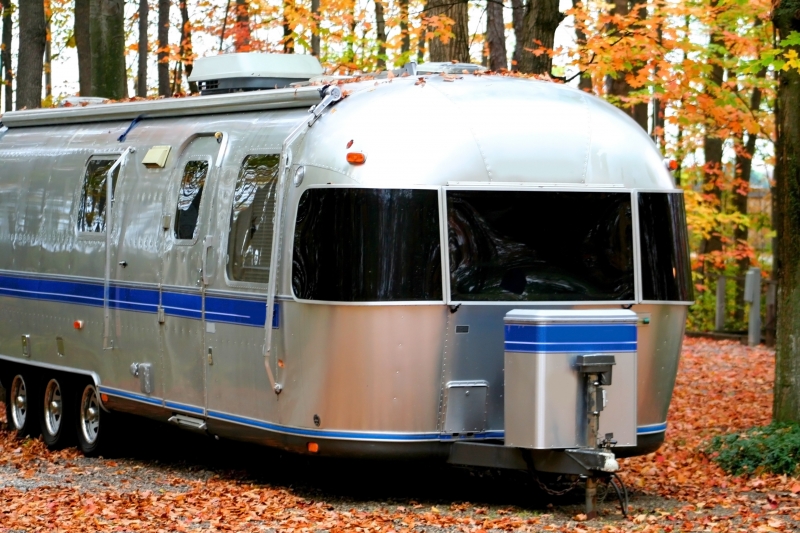
The days of October are getting shorter and cooler, and Jack Frost may or may not have already made his first annual appearance (In Michigan, that’s a pretty safe bet.). Many RV campgrounds have closed for the season, while others have discounted late season rates and even winter camping availability. But if you’re a seasonal camper, the time has come to pack away the RV.
- Drain the water and dry the water lines.Water from the fresh water holding tank, black holding tank, and gray holding tanks should be flushed. Some RVs come with a built-in system, or you may need to clean them out with a wand. Don’t drain the water heater until after you’ve added antifreeze. Once you’ve drained the tanks, open all the faucets in the RV, turn on the shower, and even flush the toilet a few times to make sure the water is all out. Next, blow air through the water lines to force out any remaining water. Place caps on drains and close all faucets.
- Add antifreeze to the plumping system. If you have an RV with its own indoor plumbing system, then you’ll need to add antifreeze. You can do this by using a water conversion kit or from the outside with a hand pump. Try to bypass your water heater, if you can, to save from using too many gallons of antifreeze. Turn on the water pump to pressurize the system. Move to the closest faucet and open the hot then cold valves until antifreeze appears. Repeat for all faucets, and then flush the toilet until it appears. Turn off the water pump and open a faucet to release pressure. Pour a little antifreeze down each drain and into the toilet. Flush the toilet so that it gets into the holding tank. Consult your owner’s manual for any other components in your RV that may require winterization, such as a washing machine.
- Clean. Take everything out of the refrigerator and clean it thoroughly while you’re at it. You don’t want some old food or leftover sticky drink lying around for months and attracting pests. The same goes for cupboards and drawers.
- Cover vents and holes. This includes the exhaust pipe, roof vents, fan vents, the vents around appliances, and wider spaces such as around doors. For some areas, all you need to do is simply taking a sheet of plastic and placing it over the opening and securing it with tape (that won’t ruin your RV’s interior surfaces) or securing it beneath an existing cover; however, you need to remember to remove these temporary covers when the RV comes out of storage.
- Rodent and pest prevention. Your RV is going to be sitting unattended for several months, making it the perfect winter retreat for small furry creatures. Rodents can cause damage to your electrical wiring and chew up curtains, seat cushions, and even the floor. Taking care of covering vents and holes as described in #4 will help, but you may need to get under your RV to look for small holes, about the size of a penny, and fill them with aluminum or brass wool. Inside, you can think about putting out moth balls (there is disparity over whether this actually works) or setting traps, but your RV might not smell the best when you open it back up in the spring – peppermint oil may also provide a solution and give your RV a nice scent. The spring is when you’ll need to worry most about insect infestation, including bees, ants, and spiders. You can place out bait strips and traps at the most accessible places. Cleaning your RV well and tightly sealing it up will help with preventing insects as well.
- Fill or remove the propane tank. Containers should be topped off before being stored to help better withstand the weather. Shut off the supply and cover the tanks. Removable tanks can be taken off, covered, and stored in an area outside your RV. It’s important to note that pests – especially spiders – are drawn to the scent of propane odorizer. Take away that temptation to help avoid their presence in your RV.
- Battery power. Fully charge a 12-volt battery prior to storage, and top off the water levels. If the climate is too cold (think Pellston), then remove it and store it in a warmer, dry place. Disconnect all cables and flip off the RV’s main break panel. Unplug all electrical appliances, alarms, and detectors. If you have a generator, look to the manual for detailed instructions.
- Long live the tires. Our previous article gave details about how to extend the life of your tires. Part of this life is spent in storage, and the tires still age even though they’re not in use. If you have one, use your RV’s leveling system to offer additional support. You can also consider using outside jacks or blocks. If the RV is accessible, move the RV once or twice over the winter to help distribute the weight over the tire’s surface.
- Engine maintenance. Top off the gasoline or diesel tanks and add a fuel stabilizer, which can be found at pretty much any automotive or RV supply store. Top off the radiator with antifreeze. Check the windshield wiper, brake fluid, and oil levels throughout the winter if you can, and top off as necessary.
- Cover your RV. If your RV is going to be left outside, exposed to the elements, or even if it’s being stored in an old barn, think about covering it. You can use a tarp to ward off dust and grime and snow, but a more breathable material is more preferred. It will help keep mold and mildew at bay because moisture will be less likely to get trapped beneath the cover.
It’s important to winterize your RV properly as well as employ some preventative measures. Don’t take the easy way when it comes to winterizing your RV. Doing things properly in the fall will help ensure that it’s in good operating condition and ready to travel when the season comes around again.

